
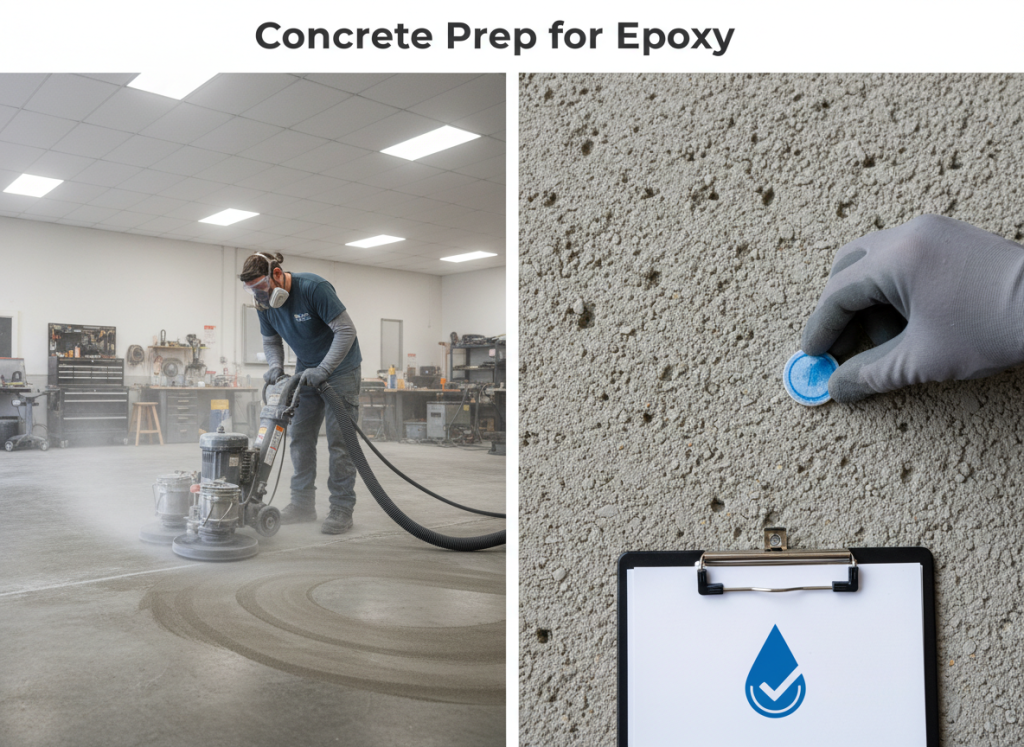
Concrete prep for epoxy is the most important part of any epoxy flake floor system. If the slab isn’t properly cleaned, profiled, and tested for moisture, coatings can peel, bubble, or fail early—no matter how good the products are.
The goal of prep is simple: create a clean, dry, mechanically profiled surface that epoxy can bond to.
Related: Epoxy Flake Floor Systems | Full Flake Epoxy Floor | Epoxy Flake Kit
Why Concrete Prep Matters (Most Failures Start Here)
Common failure causes:
- Coating applied over smooth concrete (no profile)
- Dusty slab (poor vacuuming)
- Oil/grease contamination
- Moisture vapor pressure pushing coatings off the slab
- Coating applied over sealers, paint, or curing compounds
- Skipping crack repair and patching
If you only “clean” the slab, you usually don’t get enough bond. Epoxy needs profile.
Grind vs Acid Etch (Which Is Better?)
Grinding (Recommended Standard)
Grinding mechanically opens the concrete and creates the right surface profile.
Pros
- Consistent profile and better adhesion
- Removes weak surface laitance
- Works on hard/troweled slabs
- Best practice for most epoxy systems
Cons
- Requires grinder + diamonds (rental or contractor)
- Creates dust (use a proper vacuum)
Grinding is the most reliable option for epoxy flake systems, especially full flake builds.
Acid Etching (Limited Use)
Acid etching chemically roughens the surface, but results can be inconsistent.
Pros
- Lower equipment needs
- Can work on some porous slabs (when done correctly)
Cons
- Inconsistent profile on hard/troweled concrete
- Doesn’t remove contaminants or weak surface layers well
- Neutralization and rinsing must be perfect
- Adds water to the slab (can delay coating)
- Not ideal for many modern system specs
If you’re building a long-life flake floor, grinding is usually the right call.
Concrete Surface Profile (CSP) Explained
Epoxy needs a surface texture to “bite” into. That texture is often described as CSP (Concrete Surface Profile).
Think of CSP as the roughness level:
- Too smooth = weak bond
- Too rough = coating can be thin on peaks and waste material
Most epoxy floor systems call for a moderate profile created by grinding. The exact CSP depends on the system thickness and manufacturer spec.
If you want, tell me your epoxy/topcoat system and I’ll recommend the typical CSP target to publish.
Moisture: The Silent Floor Killer
Moisture vapor coming through a slab can cause:
- blistering
- bubbling
- delamination (peeling)
- cloudy topcoats
Signs you should test for moisture
- Slab is on-grade and not vapor-barrier protected
- You see dark damp spots that come and go
- The slab has a history of coatings failing
- You’re in a humid environment or the slab is new
Common moisture testing approaches (high-level)
- Plastic sheet test (basic indicator)
- Calcium chloride test (quantitative method)
- Relative humidity (RH) probe test (in-slab)
If moisture is high, you may need:
- a moisture mitigation primer/system
- additional drying time
- changes to the coating spec
Step-by-Step Concrete Prep for Epoxy Floors
1) Clear the Area + Protect Edges
- Remove everything from the floor
- Mask walls, door tracks, and transitions
- Plan your exit path
2) Degrease and Remove Contaminants
- Use a concrete degreaser where needed
- Scrub oil spots aggressively
- Rinse/clean properly and allow to dry
Oil contamination is one of the most common reasons epoxy fails in garages.
3) Remove Old Coatings (If Present)
If the slab has:
- paint
- sealers
- old epoxy
- adhesives
…they must be removed or mechanically profiled until you have a sound surface. Coating over weak layers usually fails.
4) Grind to Create Profile
- Grind the entire slab evenly
- Pay attention to edges and corners
- Don’t leave glossy “burnished” areas
5) Vacuum Dust Thoroughly
- Vacuum multiple passes
- Use a quality vacuum (HEPA recommended)
- Dust left behind becomes a bond breaker
6) Repair Cracks, Spalls, and Pits
- Chase cracks if needed
- Fill and level with the right repair material
- Feather edges so coatings lay smooth
7) Final Check Before Coating
Before you mix epoxy:
- Surface is clean and dust-free
- Slab is dry
- Profile is consistent
- Repairs are cured and flush
- Temperature/humidity are in the coating’s install range
Prep Tips for Full Flake Floors
Full flake systems are less forgiving because:
- you’re building multiple layers
- you’re sealing a textured surface
- any weak bond shows up later as peeling
Best practices:
- prioritize mechanical prep
- don’t skip moisture evaluation
- keep your surface clean between coats
- stay inside recoat windows
FAQs
Do I have to grind concrete before epoxy?
Grinding is the most reliable method for adhesion and is commonly required for professional epoxy systems. Acid etch is less consistent.
What happens if I don’t prep concrete correctly?
Common failures include peeling, bubbling, delamination, and uneven finish. Most epoxy failures trace back to prep.
Can I epoxy over sealed concrete?
Not without removing or mechanically profiling the sealer. Epoxy needs a surface it can bond to.
How do I know if my concrete has moisture issues?
Moisture testing is the best way. If you see recurring damp spots or past coating failures, test before coating.
Ready to Build the System?
Once the slab is prepped correctly, you’re ready for:
- Epoxy base coat
- Vinyl flake broadcast
- Grout/build coat (full flake)
- Clear topcoat (polyaspartic or system-specific)