
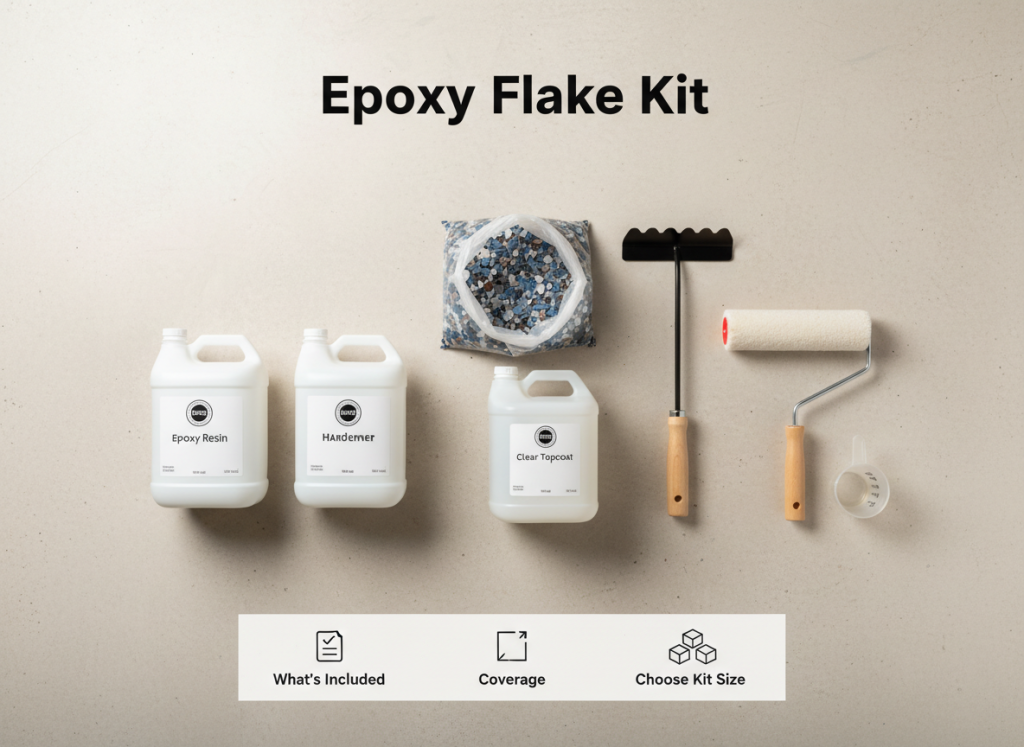
An epoxy flake kit bundles the core materials you need to build an epoxy flake floor system—typically a base coat epoxy, vinyl flake chips, and a clear topcoat (plus optional primer, grout coat, and anti-slip additives depending on the kit).
If you want a clean, durable garage or shop floor without guessing what to buy, a kit is the easiest way to plan the build.
Shop: Epoxy Flake Kits | Vinyl Flake Chips | Clear Topcoats
What’s Included in an Epoxy Flake Kit?
Kit contents vary by system, but most kits include the essentials below.
Core components (most common)
- Epoxy base coat (the bonding + build layer)
- Vinyl flake chips (color + texture)
- Clear topcoat (the wear layer that seals the flakes)
Often included (depending on kit level)
- Primer (helps adhesion and reduces outgassing)
- Grout/build coat (recommended for full flake systems)
- Anti-slip additive (for ramps, steps, wet areas)
- Mixing paddles, measuring, and basic consumables (varies)
Not usually included (but required for success)
- Concrete grinding tools or grinder rental
- Crack repair and patch materials
- Proper vacuum (HEPA recommended)
- Masking materials (tape/plastic)
- Spiked shoes (helpful for larger floors)
If you tell me your exact kit lineup, I’ll rewrite this section so it matches your SKUs perfectly.
How to Choose the Right Kit Size
Choosing kit size is mostly about square footage and flake coverage level.
Step 1) Measure your square footage
- Length × width = total sqft
- Subtract cabinets/immovable areas if you’re not coating under them
- Add 5–10% waste factor (especially for first-time installs)
Step 2) Pick your flake coverage style
- Partial flake: less flake, base coat still visible
- Full flake: broadcast to refusal (premium look, more material)
Full flake typically needs:
- More flake chips
- A grout/build coat
- More cleanup time (scrape + vacuum)
Step 3) Consider how the space is used
- Sunlight/UV exposure: choose a UV-stable clear topcoat where sunlight hits
- Traffic level: higher traffic benefits from a tougher wear layer and/or extra clear coat
- Slip resistance: add anti-slip where needed (ramps, wet entries, steps)
Quick Kit Selection Guide
Choose a kit based on your goal:
Best for garages
- Epoxy base coat + full flake broadcast + clear topcoat
- Optional anti-slip additive for entry/threshold areas
- UV-stable clear if the garage door stays open often
Best for workshops and light commercial
- Stronger wear layer (often polyaspartic clear)
- Consider a second clear coat for longer wear
- Add slip resistance where required
Best for “showroom” full flake finishes
- Full flake broadcast to refusal
- Grout/build coat
- High-quality clear topcoat for gloss and cleanability
Common Mistakes When Buying a Kit
Avoid these:
- Buying a kit without planning concrete prep
- Underestimating flake quantity for full flake coverage
- Skipping the grout/build coat on full flake installs
- Choosing a topcoat that doesn’t match UV exposure or traffic
- Not accounting for waste and edges
FAQs
How many square feet does an epoxy flake kit cover?
Coverage depends on the kit size and system thickness. Measure your sqft and choose a kit that matches your target build (partial vs full flake).
Do I need a polyaspartic topcoat in my kit?
If you want faster cure and better UV performance, polyaspartic is a strong choice. For low-UV spaces, other clear coats may work depending on requirements.
Can I use a kit over old paint or sealer?
Only if the surface is properly prepped and the existing coating is well-bonded. Many failures come from coating over contaminants or weak layers.
What if I’m between kit sizes?
If you’re between sizes, sizing up is usually safer—especially for first-time installs and full flake systems.
Ready to Choose Your Kit?
Pick your kit based on:
- Total square footage
- Partial vs full flake coverage
- Topcoat needs (UV, cure time, traffic)